custom layout
If you're working on a bolg site that needs minimal changes, you can design a custom layout for your site. For that, you can choose any of the design with the header and footer you prefer; rest of the layout would be the one you create.
CUSTOMIZE FRONTEND
You can customize the header and footer as you need about which we discussed in the previous lesson. Click on Save and Publish to make the changes permanent.
ADD PAGES
Since it's a blog site with minimal contents, we'll add our contents in pages but before adding the contents, lets add a few page titles to create the primary menu initially. Go to Pages/Add New to add pages. make sure you added a page named Home there which will be your site's landing page.
CREATE MENU
Once the pages are added, we can go to the Appearances/Menus option and create a menu to be displayed on the frontend.
DROPDOWN MENU
Most of the themes support dropdown menu and display a dropdown arrow, once a submenu item is placed beneath a primary menu item. If not, you can go to the Settings/Editor option and add a few lines of CSS to display that.
STATIC FRONT PAGE
You need to go to the Settings/Reading option and change the Front Page Displays option to A Static Page and select the Home page there to load the home page as your site's index page instead of Your Latest Posts option.
PERMALINKS
Go to the Settings/Permalinks option and choose the option Post name which will give you the shortest and the cleanest url.
PLUGINS
Once you start working with wordpress, you'll come to know that the plugins are the backbones of any wordpress themes. They help us to add different features in our site that the themes we seleted don't offer. So, we'll add some plugins for our project that help us to create our own custom layout in wordpress.
Learn To Create Custom Layout In Wordpress
PAGE BUILDER BY SITEORIGIN
This plugin helps you to create responsive custom layouts while adding contents in your pages.
SITEORIGIN WIDGETS BUNDLE
This plugin provides you a collection of widgets like buttons, maps, image slider and posts carousel all in one place.
EASY GOOGLE FONTS
This plugin helps you to add google fonts to any theme without needing any additional coding and integrates to the frontend customizer automatically.
BLACK STUDIO TINYMCE WIDGET
This plugin adds a rich text editor in the wordpress dashboard's textareas like description section of posts and pages.
SPACER
This plugin adds a spacer button in the visual editor which allows us to add precise custom spacing betwen the lines in our posts or pages.
TITLE REMOVER
This plugin helps you to remove the page/post titles from the view pages.
LIGHTBOX PLUS COLORBOX
This plugin implements Colorbox as a lightbox image overlay tool for WordPress. It isn't accessible via Plugins/Add new search option, so, you need to download it separately and upload and activate it for your site.
SIMPLE SHARE BUTTONS
This plugin allows you to add social share buttons on your pages that enables sharing pages in social sites.
CONTACT FORM 7
This plugin will adds a custom built contact form in our site which can be done by adding a line of shortcode it provides.
CREATING CUSTOM LAYOUTS IN PAGES
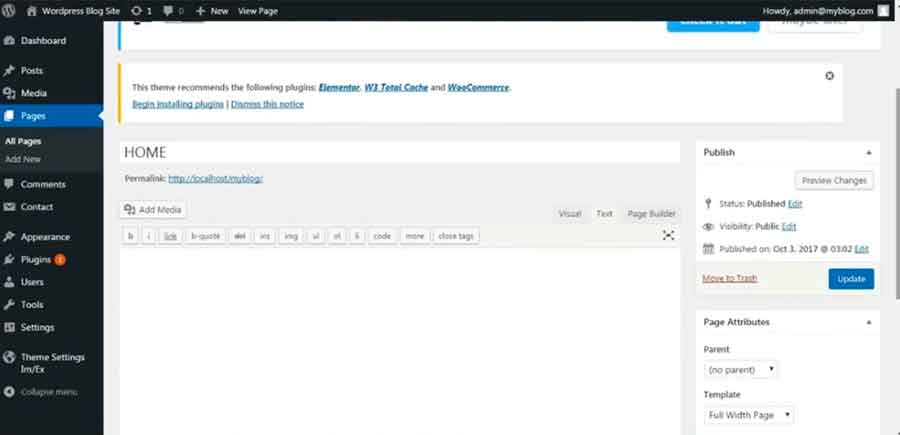
Let's edit the home page then. Go to Pages/All Pages and hover over the Home page and you'll see the Edit option there. Click on it and you'll be taken to the edit page.
Select the template layout you want from the available options from the Page Attribute section on the right that allows us to have a full width page or a page with sidebar.
You can remove the page title from the page by selecting the option to hide title from the section on the right that's provided by title remover plugin.
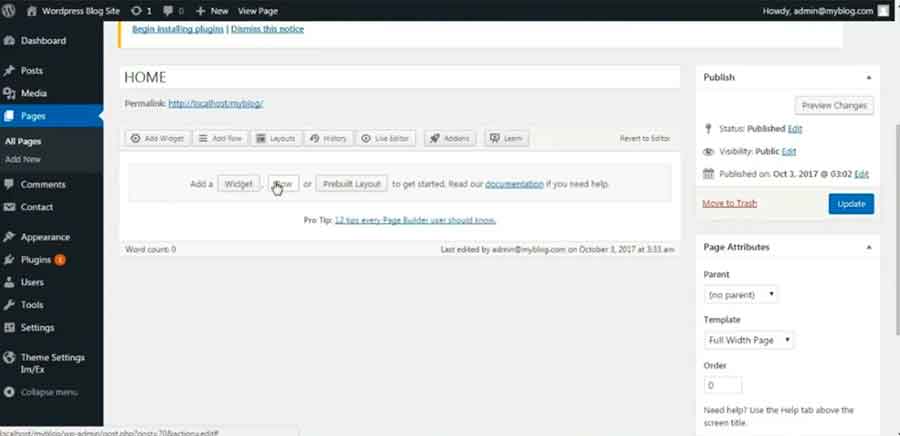
You can see the Page Builder option on the left top section of the textarea once the page builder plugin is installed. Click on it and you'll see the options to add widget, row or prebuilt layout in the page. You can also find the documentation link for page builder plugin there.
Click on Add Row to add a new content row in the page. From the dialog box that appears, you can choose the number of columns and define their widths. You can further define the attributes for the row, add row id or class and deine the css as well from the Attributes option on the right. You can also define the layout, margin and paddings for the row via Layout option there as well as add background color, border and image and define the way you want the image to be displayed using Design option. Once you are done, clock on Insert button and row you defined will be inserted on the page.

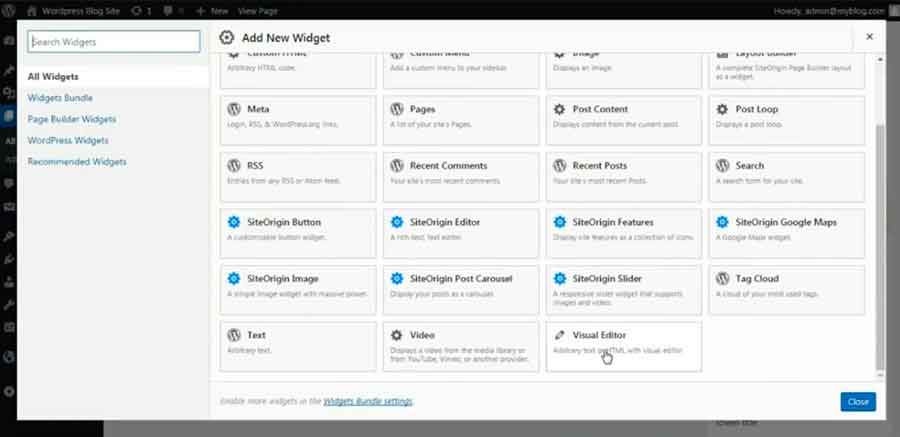
Click on the column you want to edit and then click on Add Widget option to add the widget from the available ones that you want to add in your page. Basically, it would be the Visual Editor widget most of the times as you'll need to add texts or images in the columns.

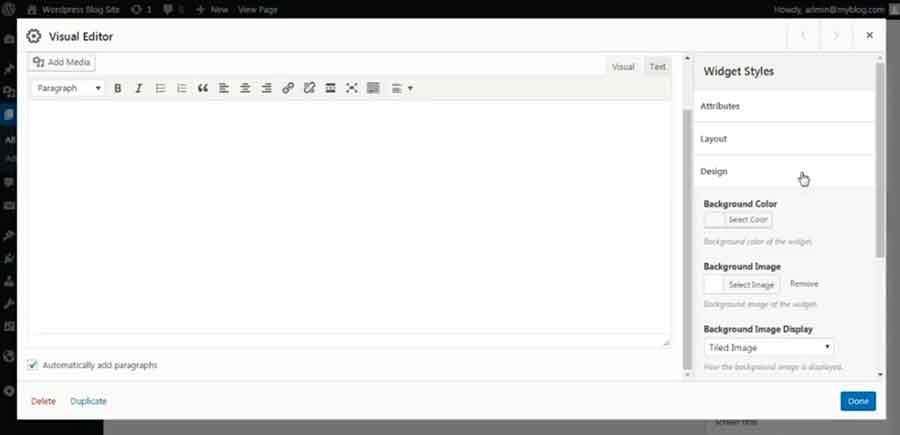
Hover over the row with visual editor and click on Edit option.
A new dialog box will pop up where you can add texts and images. You can define spacing between the lines using the Add Spacer that appears at the far left on the editing tools row. Keep on adding rows for your contents that you want to display on the home page.
FONT STYLING
If you want a specific css style for any content in your page you can wrap it with a class name for that content. After the page is done go to the Settings/Google Fonts and create a new Font Control for each of those classes or ids where you want to add styles.
Once you're done, you can go to the frontend Customize/Typography/Theme Typography option from where you can select the font controls you recently created and add css styles easily. Alternatively, you can go to the Settings/Editor option and call the class names or ids there and add css styles if you can add the css properties.
ADDING LINKS
You can easily add the links to social sites too if you know the HTML basics or you can use the link icon on top of the textarea to add such links.
GOOGLE MAP EMBED
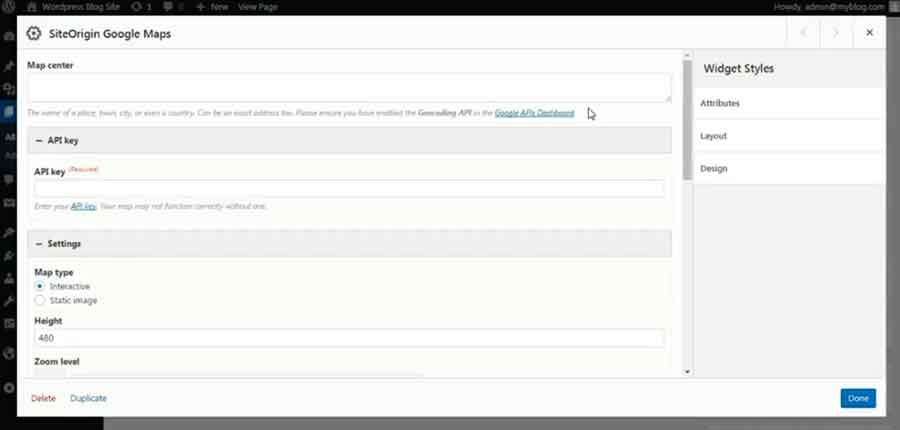
You can easily add google maps to display the location you want to by adding SiteOrigin Google Maps widget instead of Visual Editor in the row. Click on Edit option to get the settings page for google maps. These days, google asks for Api key to add map in your site, so, you need to go to the Google Maps APIs page and get that key. Copy it and paste in the API field, then, you can simply type the location you want to display in your site in the Map Center field and check for other settings you want to add or remove and click Done. That'll add the google map you wanted in your page.
SOCIAL SHARE BUTTONS
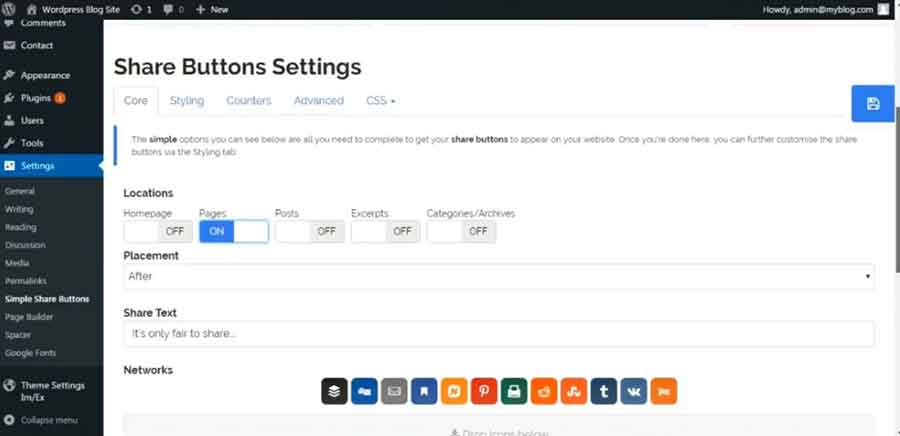
To add social share buttons in you page, you need to go to Settings/Simple Share Buttons and choose the location and placement options where you want them, define the texts you want to appear next to the buttons which is optional and select the social icons that you want to add in your page. You can change the styling of buttons and add the share counter as well.
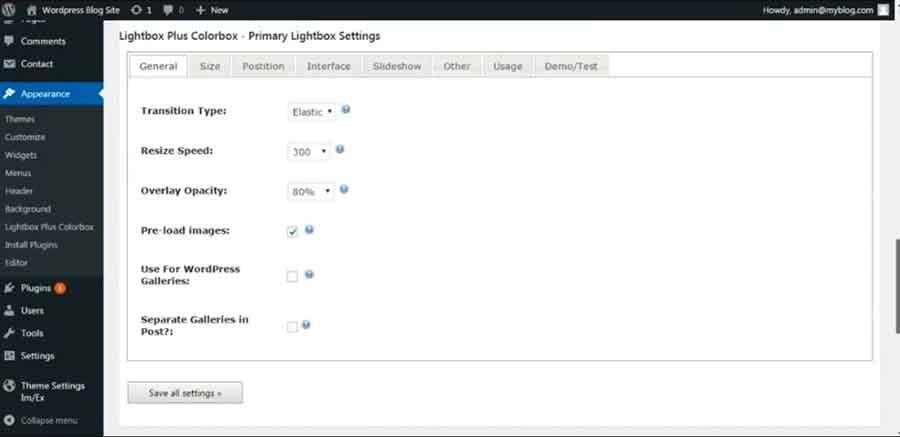
LIGHTBOX EFFECTS
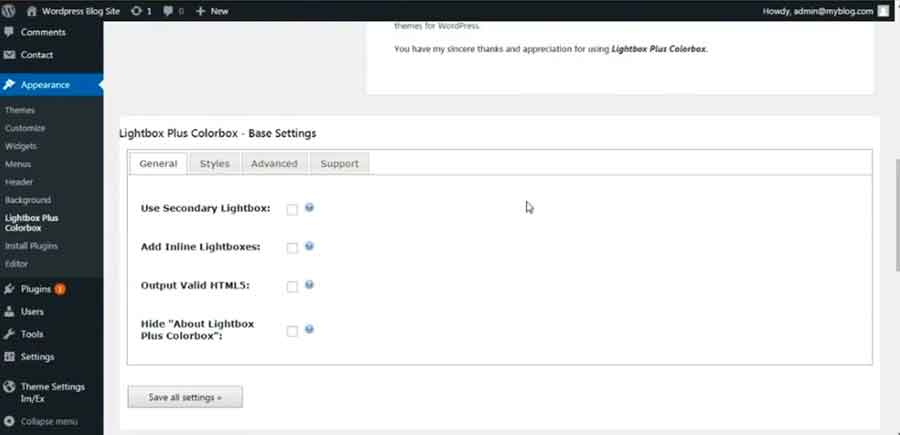
In order to add Lightbox effects in your image or video gallery pages, you need to go to the Appearances/Lightbox Plus Colorbox option where you need to choose Use Secondary Lighbox option from the Lightbox Plus Colorbox - Base Settings block and go to the Secondary Lighbox Settings where you need to define the transition type, opacity, width and height of the box as per your preference. The optimal setting would be Overlay Opacity - 5%, width and height - 80% and inner width and height - 100%. In the Others tab you can see the class name that you need to add in your content to activate the lightbox effect which you can change to an easy word in case you want to. In the Demo/Test tab you can see the instruction with example on how to call the lightbox effect in your page content. Save all settings and go to the content where you want that effect and add the class name required for lightbox to work in the link for video or image.
YOUTUBE THUMBNAILS
If you are adding youtube videos in your page and struggling to get the video thumbnail for the same, you can use https://i3.ytimg.com/vi/youtube video id/default.jpg inside the image source HTML tag which will retrieve the thumbnail of the video id you added in it.
You have already learnt about the contact forms and SEO options in the previous lesson. So, enjoy your own design with lot of additional features that wordpress supports and give your site visitors a wonderful experience while transforming yourself into a pro from an amateur.
Leave a comment